

With the mystery and drama intensifying, the seventh and eighth episodes of ‘Department Q‘ center on Sam Haig, Graham Finch, and the kidnappers, all of whom seem to share some loose thread connecting them via Merritt. It sets the stakes for an intriguing couple of episodes that delve deeper into the burning questions, especially after everything that has transpired. In the previous episode, we saw Carl rattling Finch’s cage, hoping to shake him loose before confronting him face-to-face, a tactic that seemingly bears fruit in these episodes. At the same time, Merritt’s captors continue to needle her into guessing why she is being tormented. It only engenders further doubt in her mind that it has to do with the wrongs in her life. However, the answer proves to be something even more startling as we reach the final parts of the story. SPOILERS AHEAD.
Carl and Akram Uncover Graham Finch’s Corruption Ring
Episode 7 begins with Carl and Akram traveling to the judicial headquarters to talk to Stephen Burns. They confront him with their recent findings from Kirsty Atkins’ accounts, alluding to ties between Graham Finch and the prosecution office. Although Burns tries to reject these claims, the detective duo surmise that Finch got his hooks into him through blackmail rather than bribery. They suspect that his daughter’s life was threatened, which urged him to carry out Finch’s bidding. In her pressure chamber, Merritt has a flashback to her close relationship with Harry Jennings, the same boy who was later accused of inflicting a severe head injury on her brother William. Harry’s brother, Lyle, knew about their friendship even though he, like Merritt’s dad, did not approve of it.
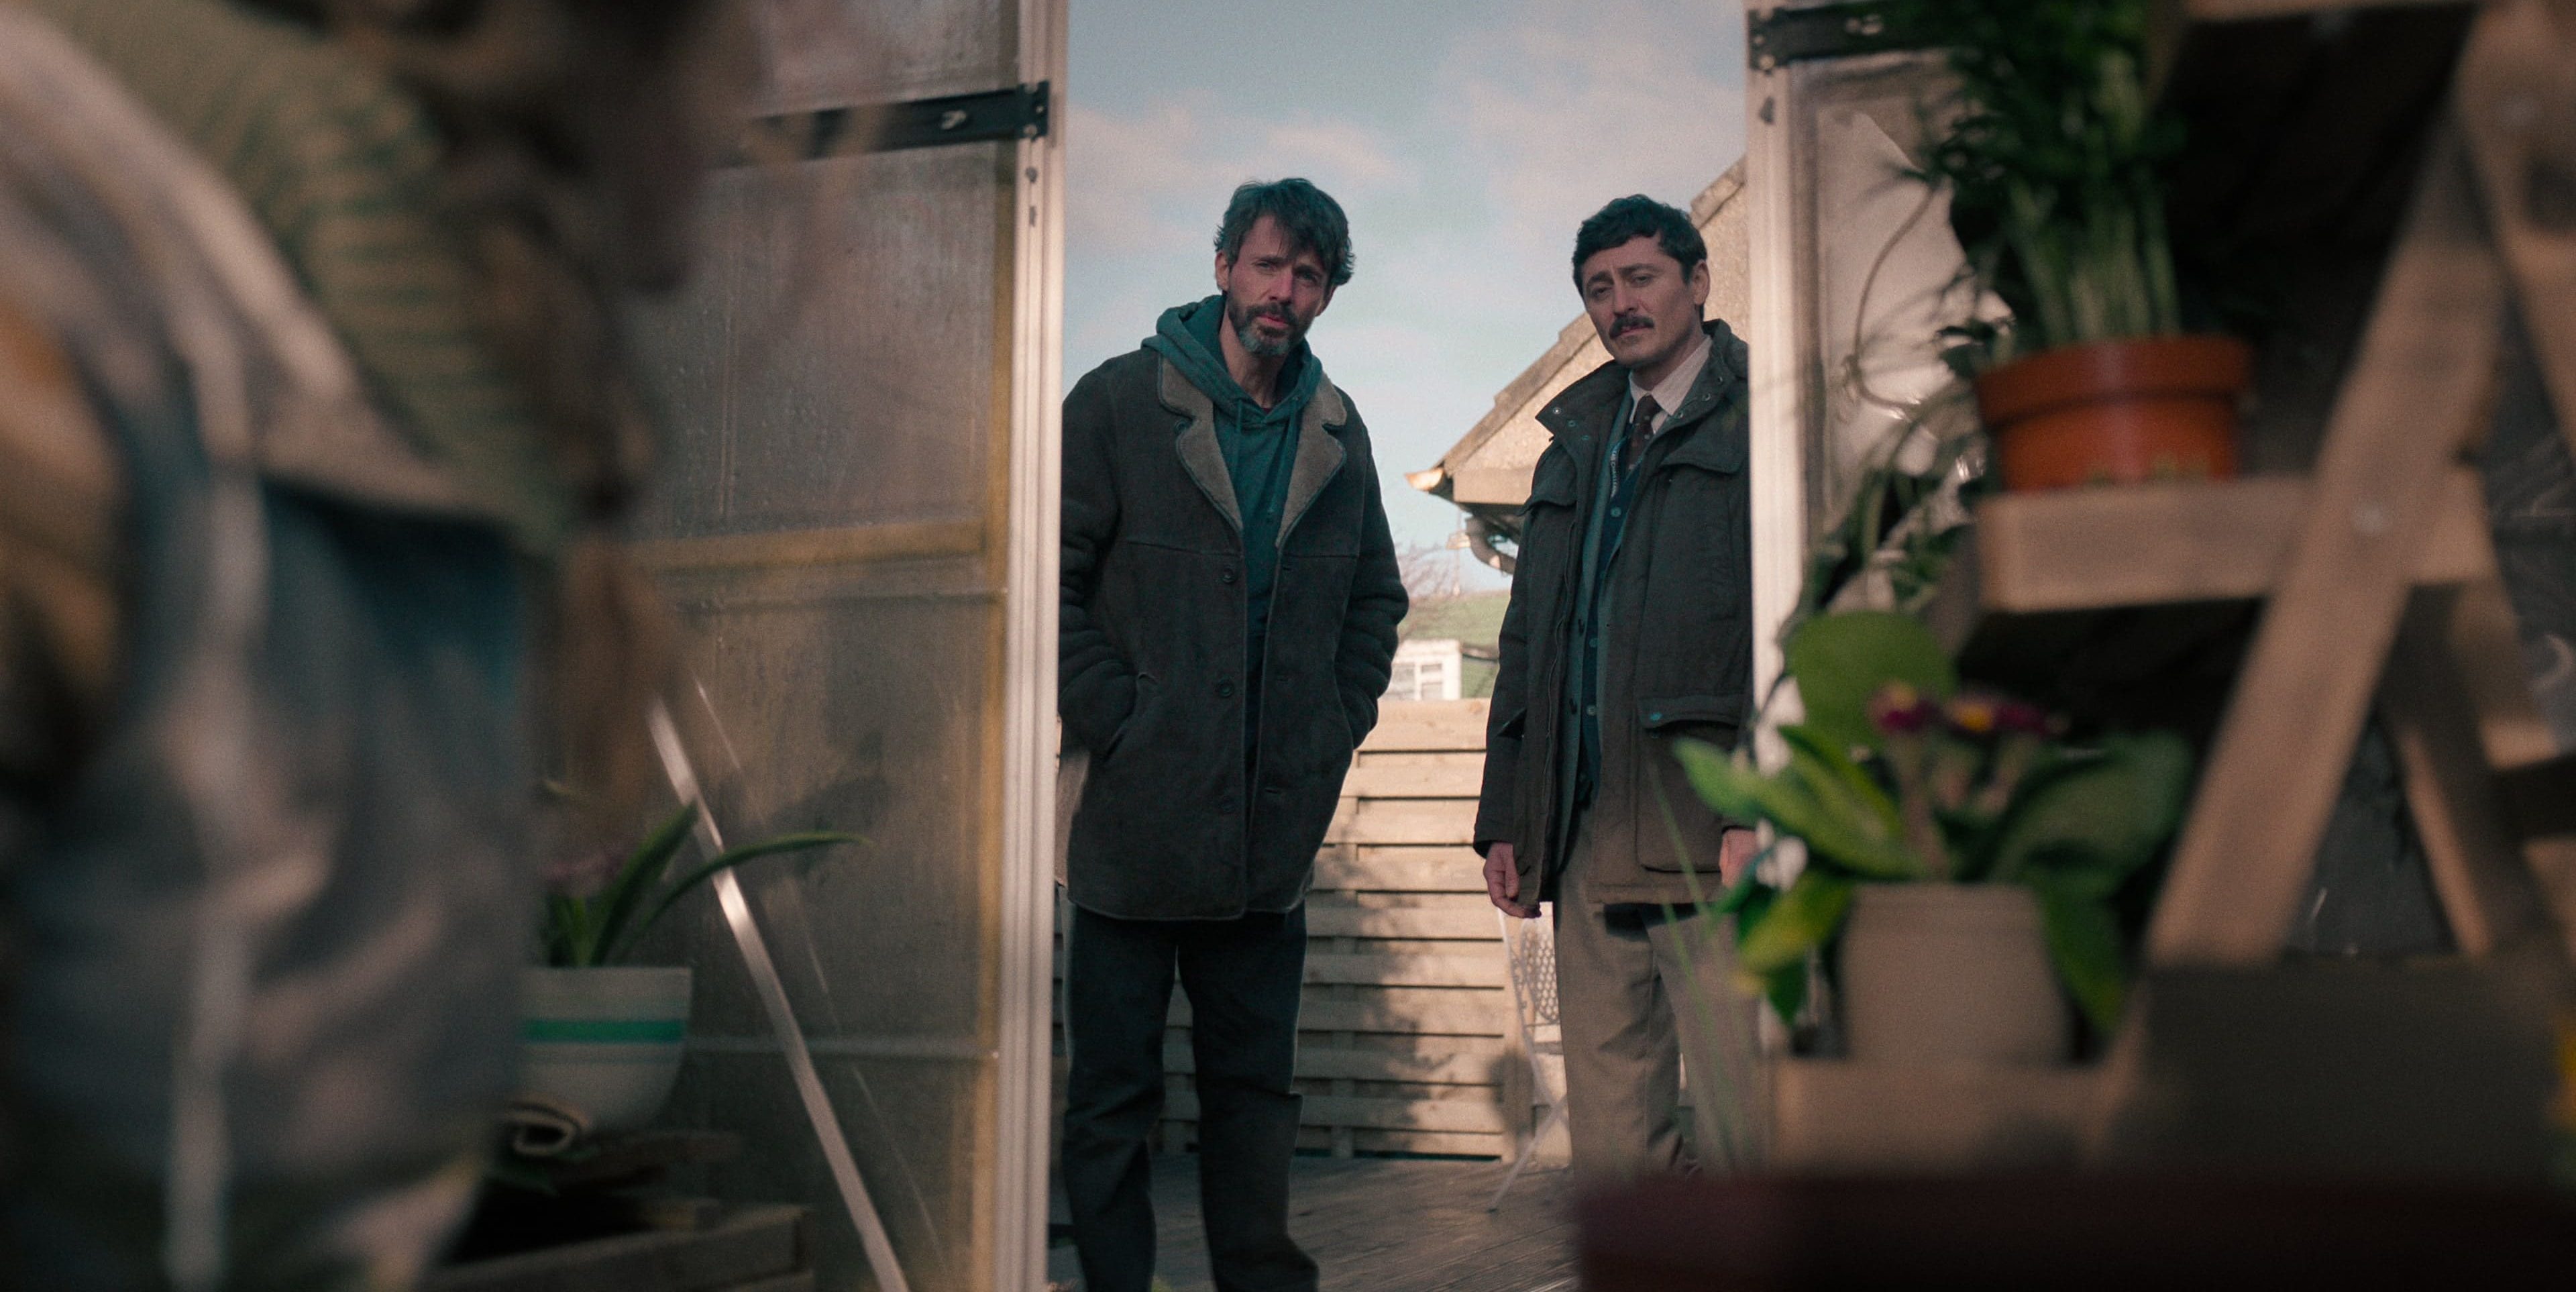
After getting their claws into Stephen Burns, Carl and Akram decide it’s time to pay a visit to the big fish who has been disrupting other people’s lives with destructive waves – Graham Finch. Carl confronts Finch at his golf course club, chucking an expensive club out of the window to ask him about his connection to Kirsty Atkins’ attack. He also suggests that Finch may have something to do with Sam Haig’s death, especially because the journalist was looking into the businessman’s shady dealings through his contact with Merritt. Additionally, even Merritt’s disappearance could be his doing. However, Finch’s lawyer, Robbie, states that the businessman did not need to go to any extreme lengths once the case was over, mainly because his reputation was intact while Merritt’s had already plunged.
A New Lead Brings Carl and Akram Closer to Sam’s Past
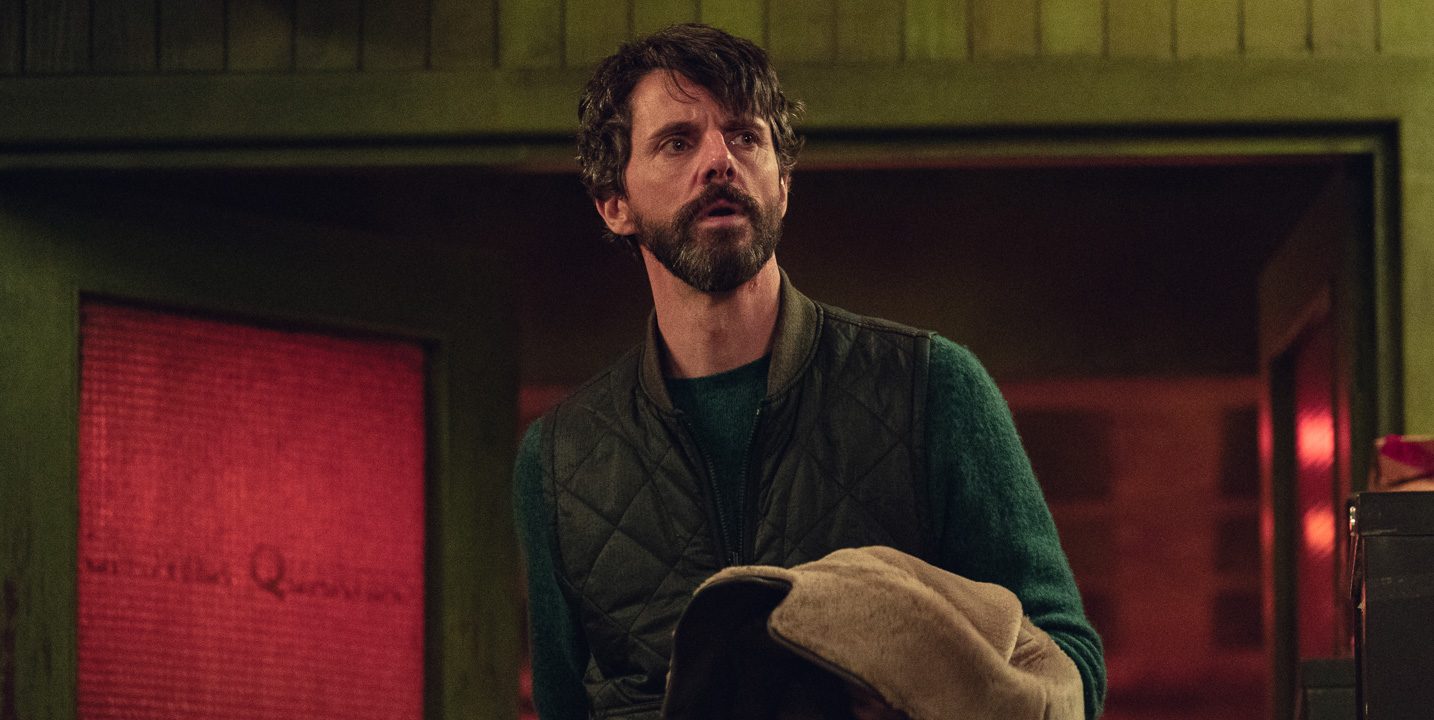
Inside her pressure tank, Merritt discovers a terrible tooth infection inside her mouth. Desperate for some treatment, she asks her captors for some antiseptics or dental assistance, neither of which are available on short notice. Instead, her captor provides her with a plier to pull her teeth out, a rather grim solution to the matter. Meanwhile, Carl receives a video from Dennis Piper, the reporter at The Scottish Telegraph whom he assaulted in an earlier episode. The protagonist and Akram pore over the video, intrigued by what it might hold. It turns out to be an interview by Sam Haig from his teenage years while he was attending a correction school named Godhaven. In it, Sam states that he had an altercation with some other boy attending the school who constantly kept stalking him because he believed he was his brother.

Carl and Akram stop by a local pub to have a chat with Dennis. The reporter states that he knew Sam personally before he passed away. He believes that the video he sent could be an integral part of understanding what might have led to Sam’s death and also his link with Merritt. Back in the pressure chamber, Merritt single-handedly performs a tooth extraction by using the plier provided to her. As she lays down exhausted after the surgery, she has hallucinations of her mother. In the meantime, Carl heads home to talk with Jasper over their many differences. In a rare moment of honesty and vulnerability, Carl opens up to Jasper and talks to him candidly about the challenges of his life as a cop and the darkness he has to deal with every day. He says that it is okay if Jasper feels angry at him for not being a better parent overall.
Rose’s Hunch Pays Off Big Time
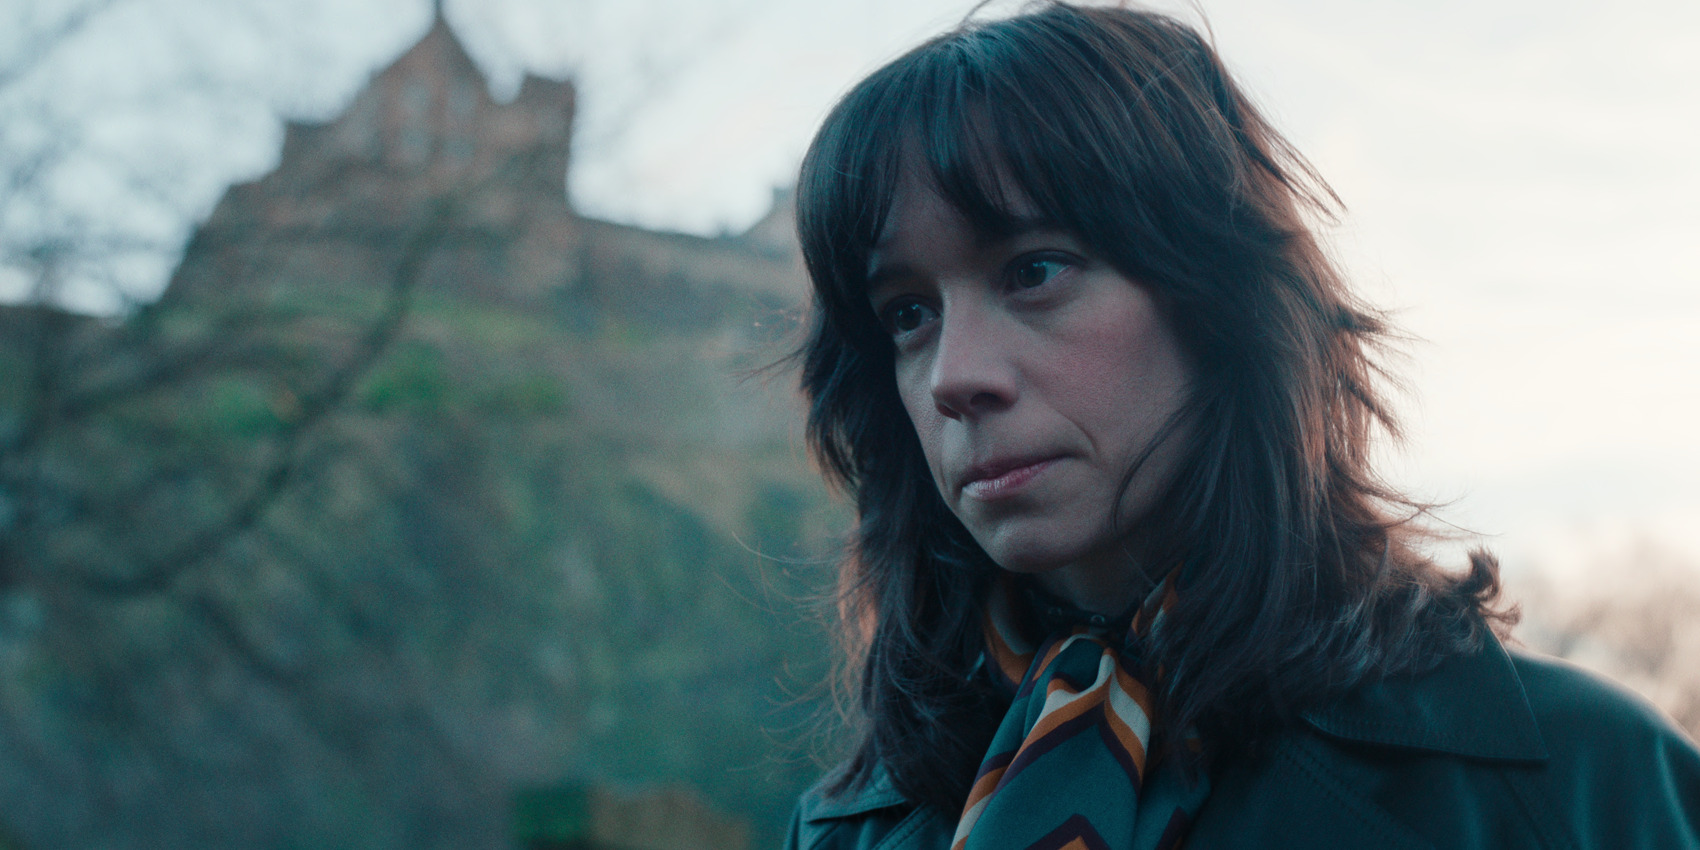
Rose visits Hardy after he moves out of the hospital and back to his house. There, the duo discuss the latest findings surrounding Sam Haig’s death, with Rose expressing some doubts over the version of events provided by the rock climbing instructor Paul Evans, who also found Sam’s body after his accidental death. Hardy urges her to confront him about it by asking him the right questions. Elsewhere, Merritt receives her next batch of food inside the pressure tank. However, during the airlock exchange, she seems to be deep in thought about something, likely formulating a plan of escape. Carl stops by Dr. Rachel’s residence, determined to continue his therapy in her presence. Still, she is surprised that he went as far as to track her down in order to continue their sessions.

Rose stops by the rock climbing center, where she has another chat with Paul. When Rose heads away to investigate the rocks by herself, she is followed by Paul up the steps. There, the two finally start to get to the bottom of the truth behind Paul’s lies. It turns out that Sam had a one-time sexual fling with his wife, Chloe, at a local bar known as The Spivey Inn. However, this runs contrary to the fact that Sam was said to be at the Prince’s Garden Hotel with Merritt, causing further dilemmas for Rose and the team. In the meantime, Merritt puts her escape plan into motion by sabotaging the airlock bridge through which her supplies are provided. It leads to a massive accident that injures the old woman while Merritt manages to escape, a fleeting victory that is ended when the second captor arrives to knock her out.
Merritt’s Escape Attempt Leads to New Challenges
In the eighth episode, we get things started with a bizarre dream sequence where Carl imagines raiding a garage near Leith Park, where he confronts Caroline Kerr, the witness who redacted her statement. Subsequently, he takes the man he identified from the police lineup in an earlier episode, Charlie, into custody. However, when Charlie starts to taunt him about Hardy’s injury, Carl shoots him through the head. Subsequently, he wakes up in his bed, still holding onto the files relating to the Leith Park case. Meanwhile, the male captor who knocked out Merritt drags her back into the pressure chamber, where he proceeds to express his love for her. He takes off part of his mask to seemingly lick her neck, which still does not provide any ample insight into his identity. Hearing the older woman’s insistence, he leaves Merritt, taking her necklace with him before he does.
Martin and Jasper engage in some Tai Chi practice while Carl watches them gel together as a unit. His relationship with Jasper is much better, following his heart-to-heart conversation in the previous episode. He learns that Jasper is in a relationship with a girl named Gemma, the same one he was having sex with in an earlier episode. Carl urges him to wear protection, fulfilling his duties as a parent, although it only embarrasses his stepson further. At the same time, Merritt wakes up inside the chamber, only to realize that her necklace is no longer with her. She frantically searches for it but does not find it anywhere. Outside the tank, the older woman tells the second captor that seeing Merritt die slowly and painfully will bring her peace, even though the girl may not know the exact reasons behind her torment.
The Kidnappers Offer Merritt an Ultimatum
Carl stops by a restaurant, running into Dr. Rachel, who is slightly less pleased to see him. It turns out that she is waiting for her date to show up, a development that surprises Carl. However, it does not faze him from infringing on her hospitality and teasing her about who her date might be. Eventually, he shows up, but the protagonist has to leave. While lying on her bed, Merritt recalls how she and Harry came up with a plan to rob some valuables stored in her house. This jewelry could help finance the couple’s goals of leaving Mhor Island behind and starting a new life somewhere far away. Believing that it could work, Harry goes through with the heist, which ultimately leads to William’s catastrophic injury and his cognitive impairment. Subsequently, Merritt’s relationship with Harry is destroyed forever, and he later loses his life.
At the precinct, Carl, Akram, and Rose are unable to figure out their next steps as they are bamboozled by how Sam Haig could be such a contradictory figure who was seemingly helping Merritt while also hurting her. As they discuss the possibilities, Merritt has a vision of Sam inside her pressure tank. She recalls all her old memories with him, apologizing to him for being unfair. The second captor is seemingly moved by her admission and rushes to the airlock to return her necklace to her. It surprises Merritt to reunite with such a prized gift of hers. After all, the necklace is her only link to her mother, Lila, someone who genuinely cared for her. The older woman states that Merritt has been shown some kindness by her male admirer, but it still does not change the fact that she is going to die. To survive, Merritt has to answer the question “Why are you here?” correctly.
The Team Finally Realizes the Truth Behind Sam’s Dual Personality
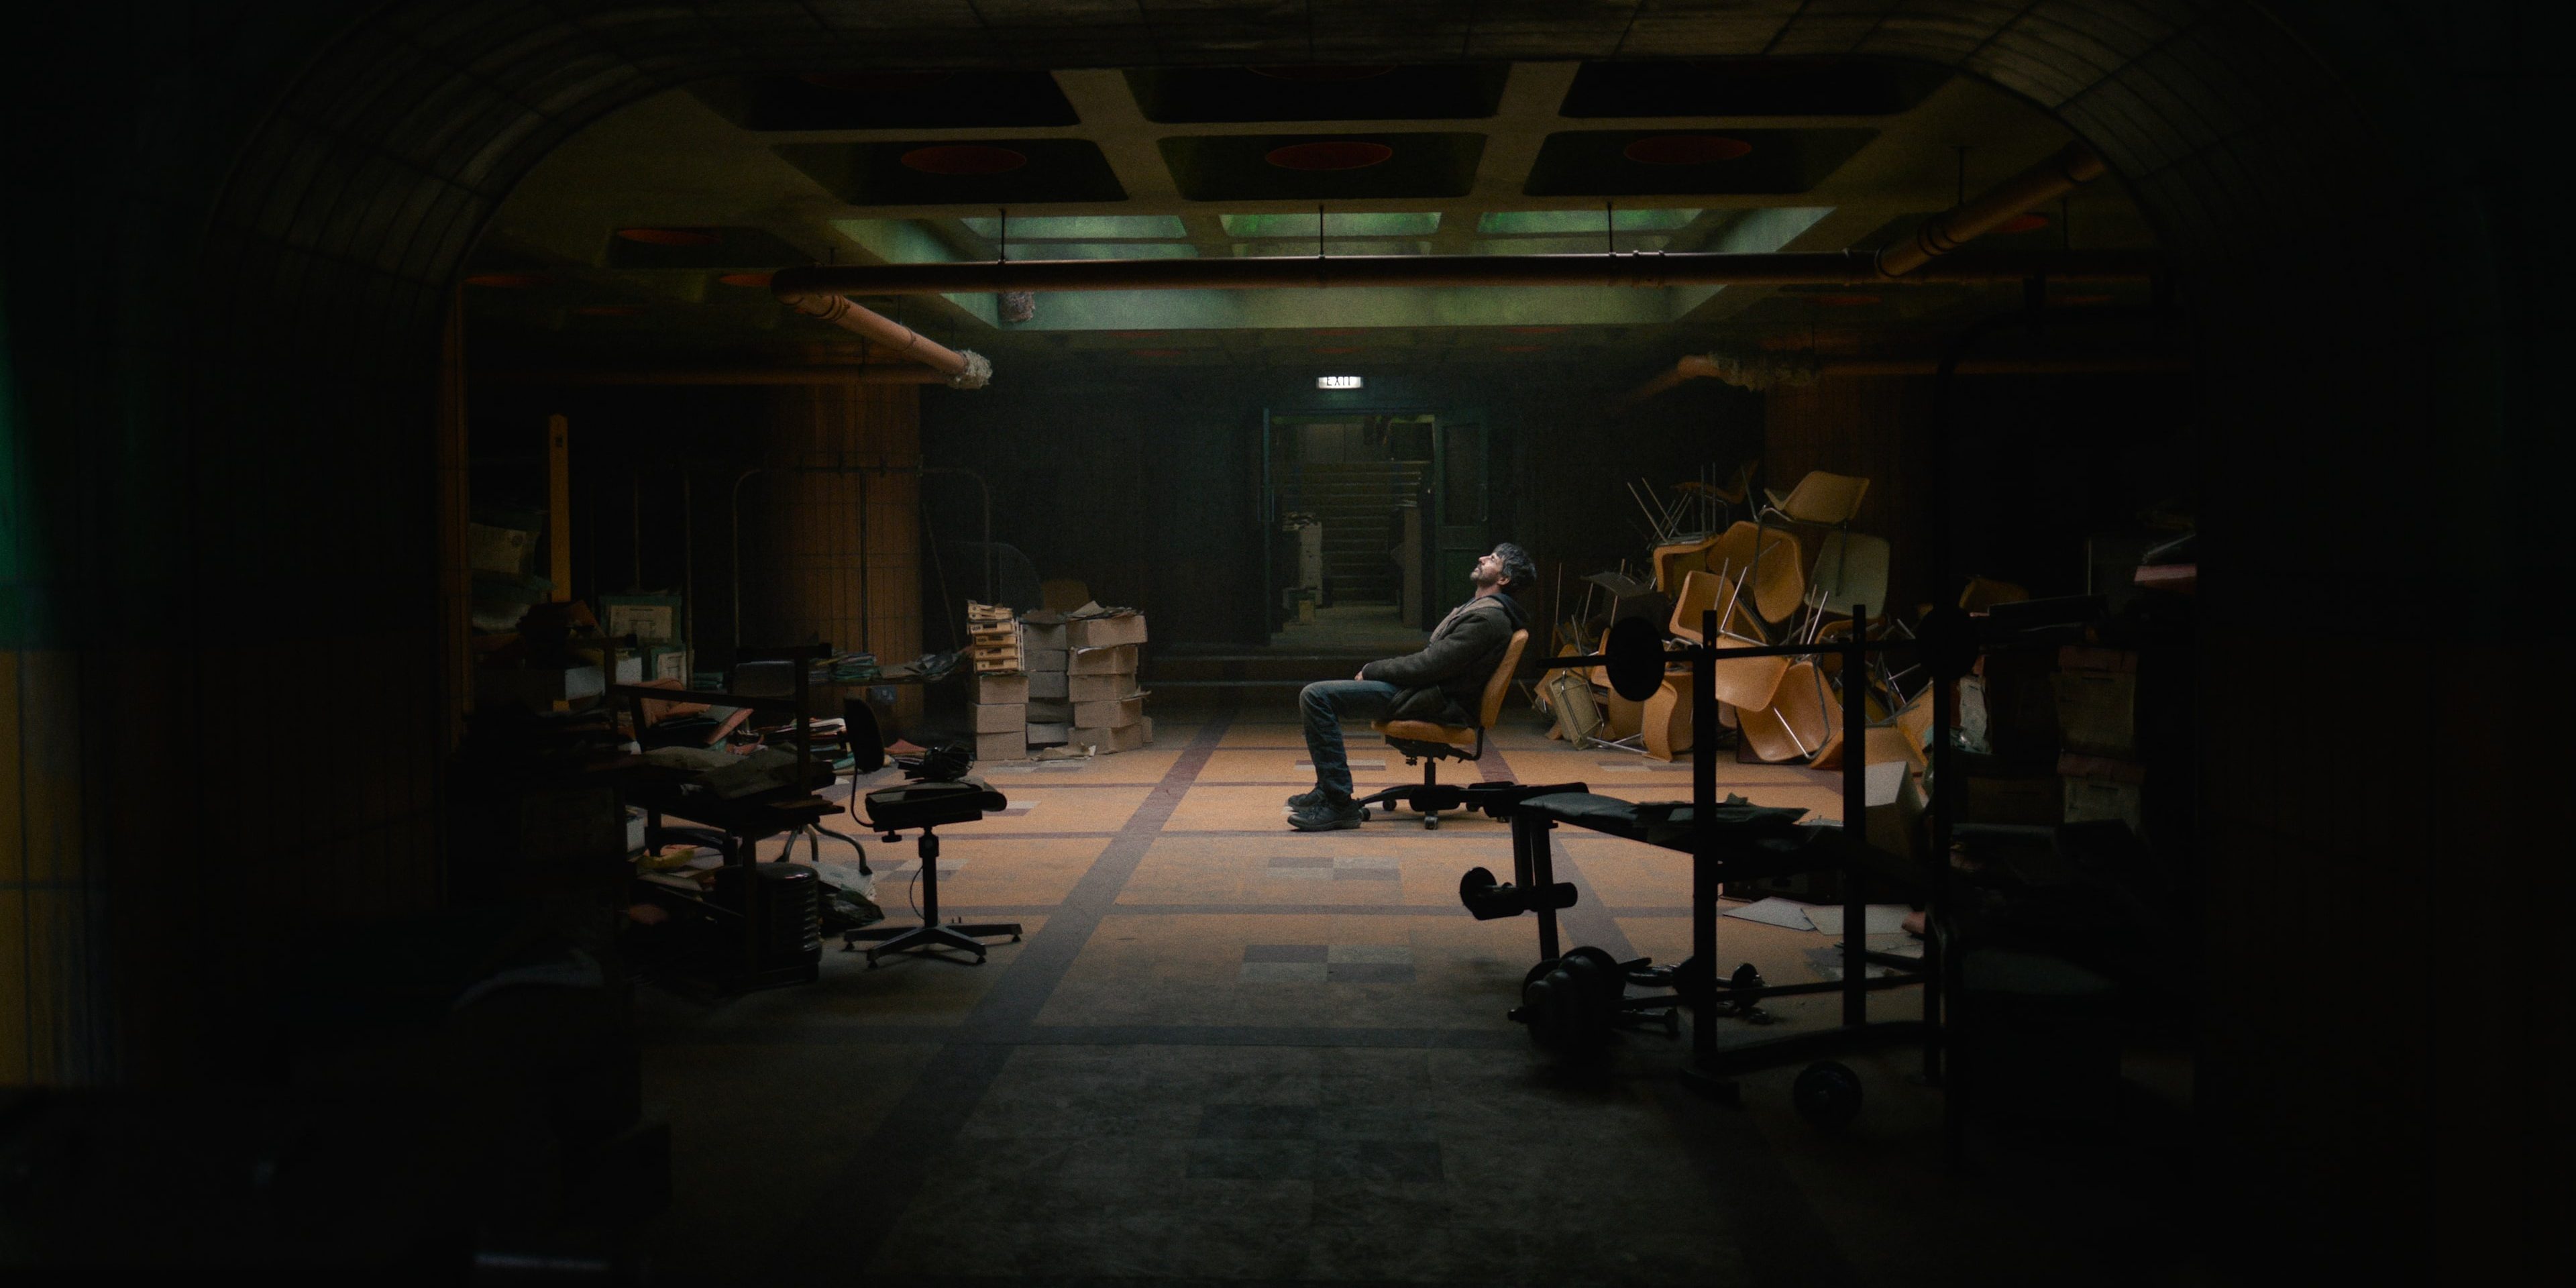
Stumped by the case’s duplicity, Carl roams around the basement office, trying to make sense of how Sam’s dual personality could have an alternate explanation. With Akram and Rose chipping in from time to time, Carl finally floats the idea that maybe Sam was not a contradictory personality as much as he was two different people altogether. At that moment, Merritt also lands upon the truth inside the tank. After receiving several hints, she realizes that Harry Jennings’ death is the reason she is inside the chamber. Subsequently, she learns that her captors are none other than Harry’s mother, Ailsa, who was distraught beyond belief by her son’s passing and wanted to punish the girl who she believed took him away. At the same time, her second captor is Harry’s brother, Lyle Jennings, who also happens to be Sam Haig.
Carl and Akram visit the Godhaven school to speak with Terry Dundee, the man in charge of the boys in the school. Terry tells them the truth about Lyle, the boy who got into an altercation with Sam at the school, the same one we heard about earlier. The episode ends with a video interview of Sam looking into the camera with a black eye, a gift from his fight with Sam, undoubtedly. However, after a lot of ups and downs, we finally have the identity of the kidnappers and the reasons behind the crime.
Read More: Dept Q Episode 5 and 6 Recap: Finding Answers in the Fog
